A good job without spending a fortune
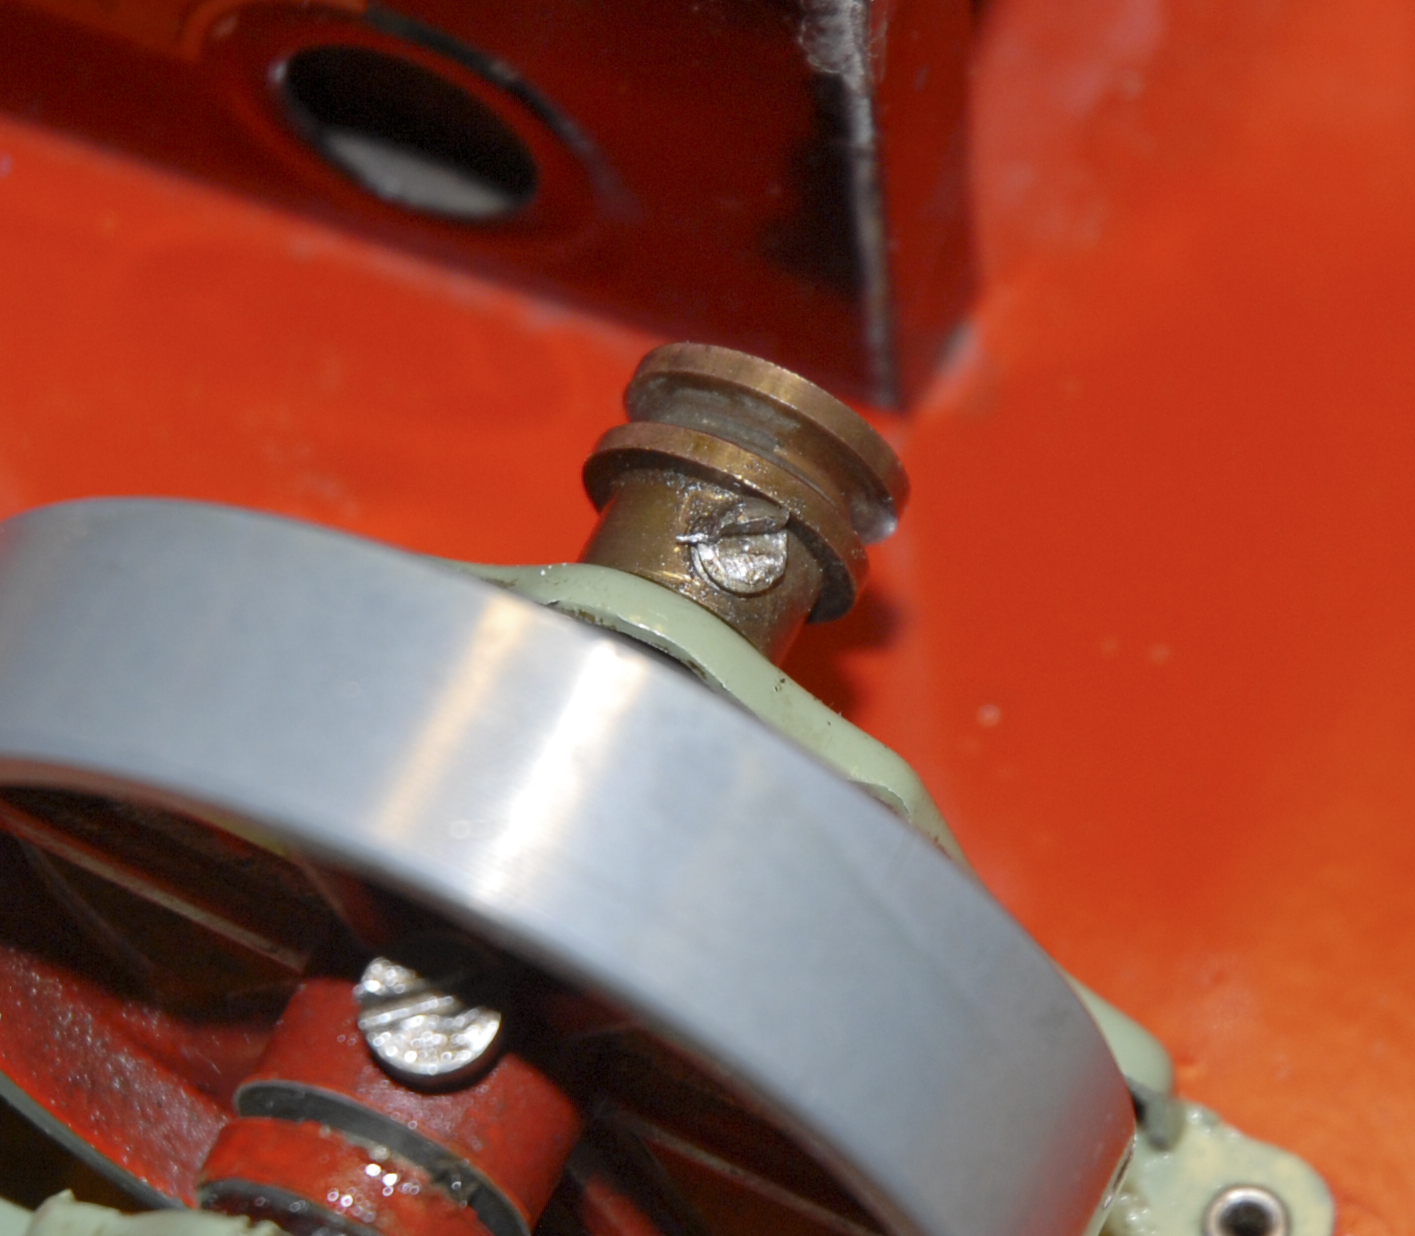
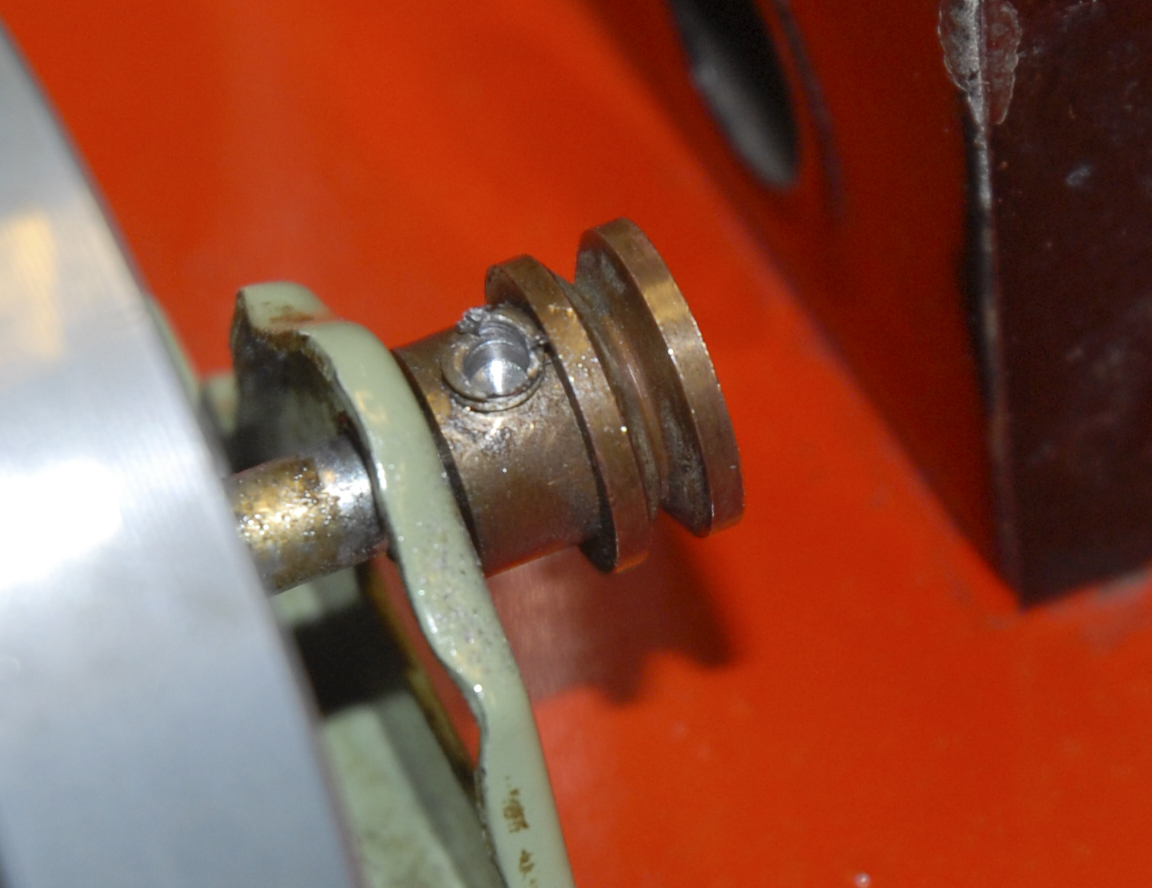
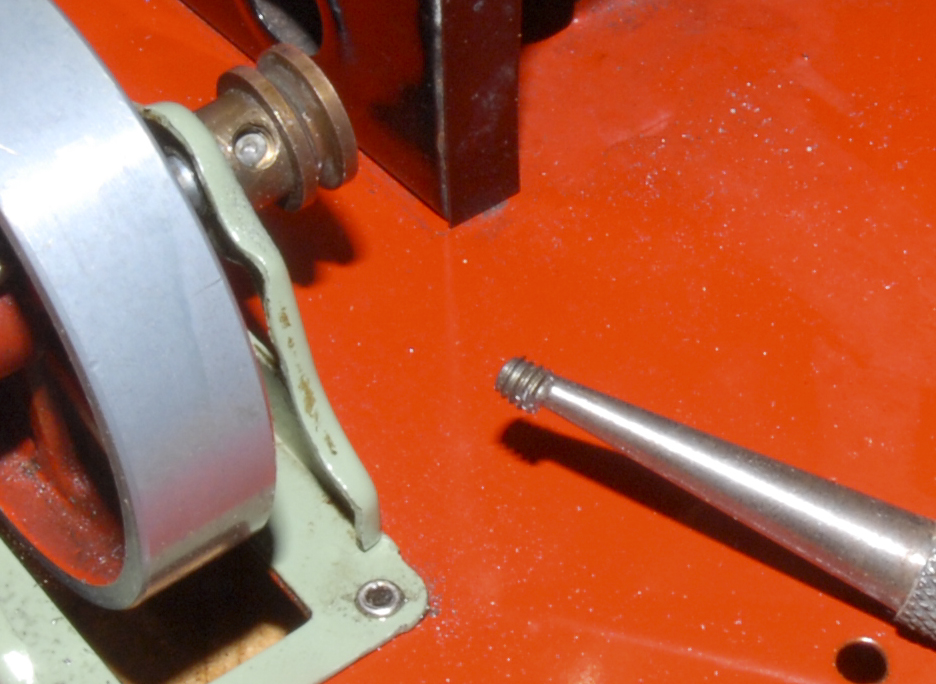
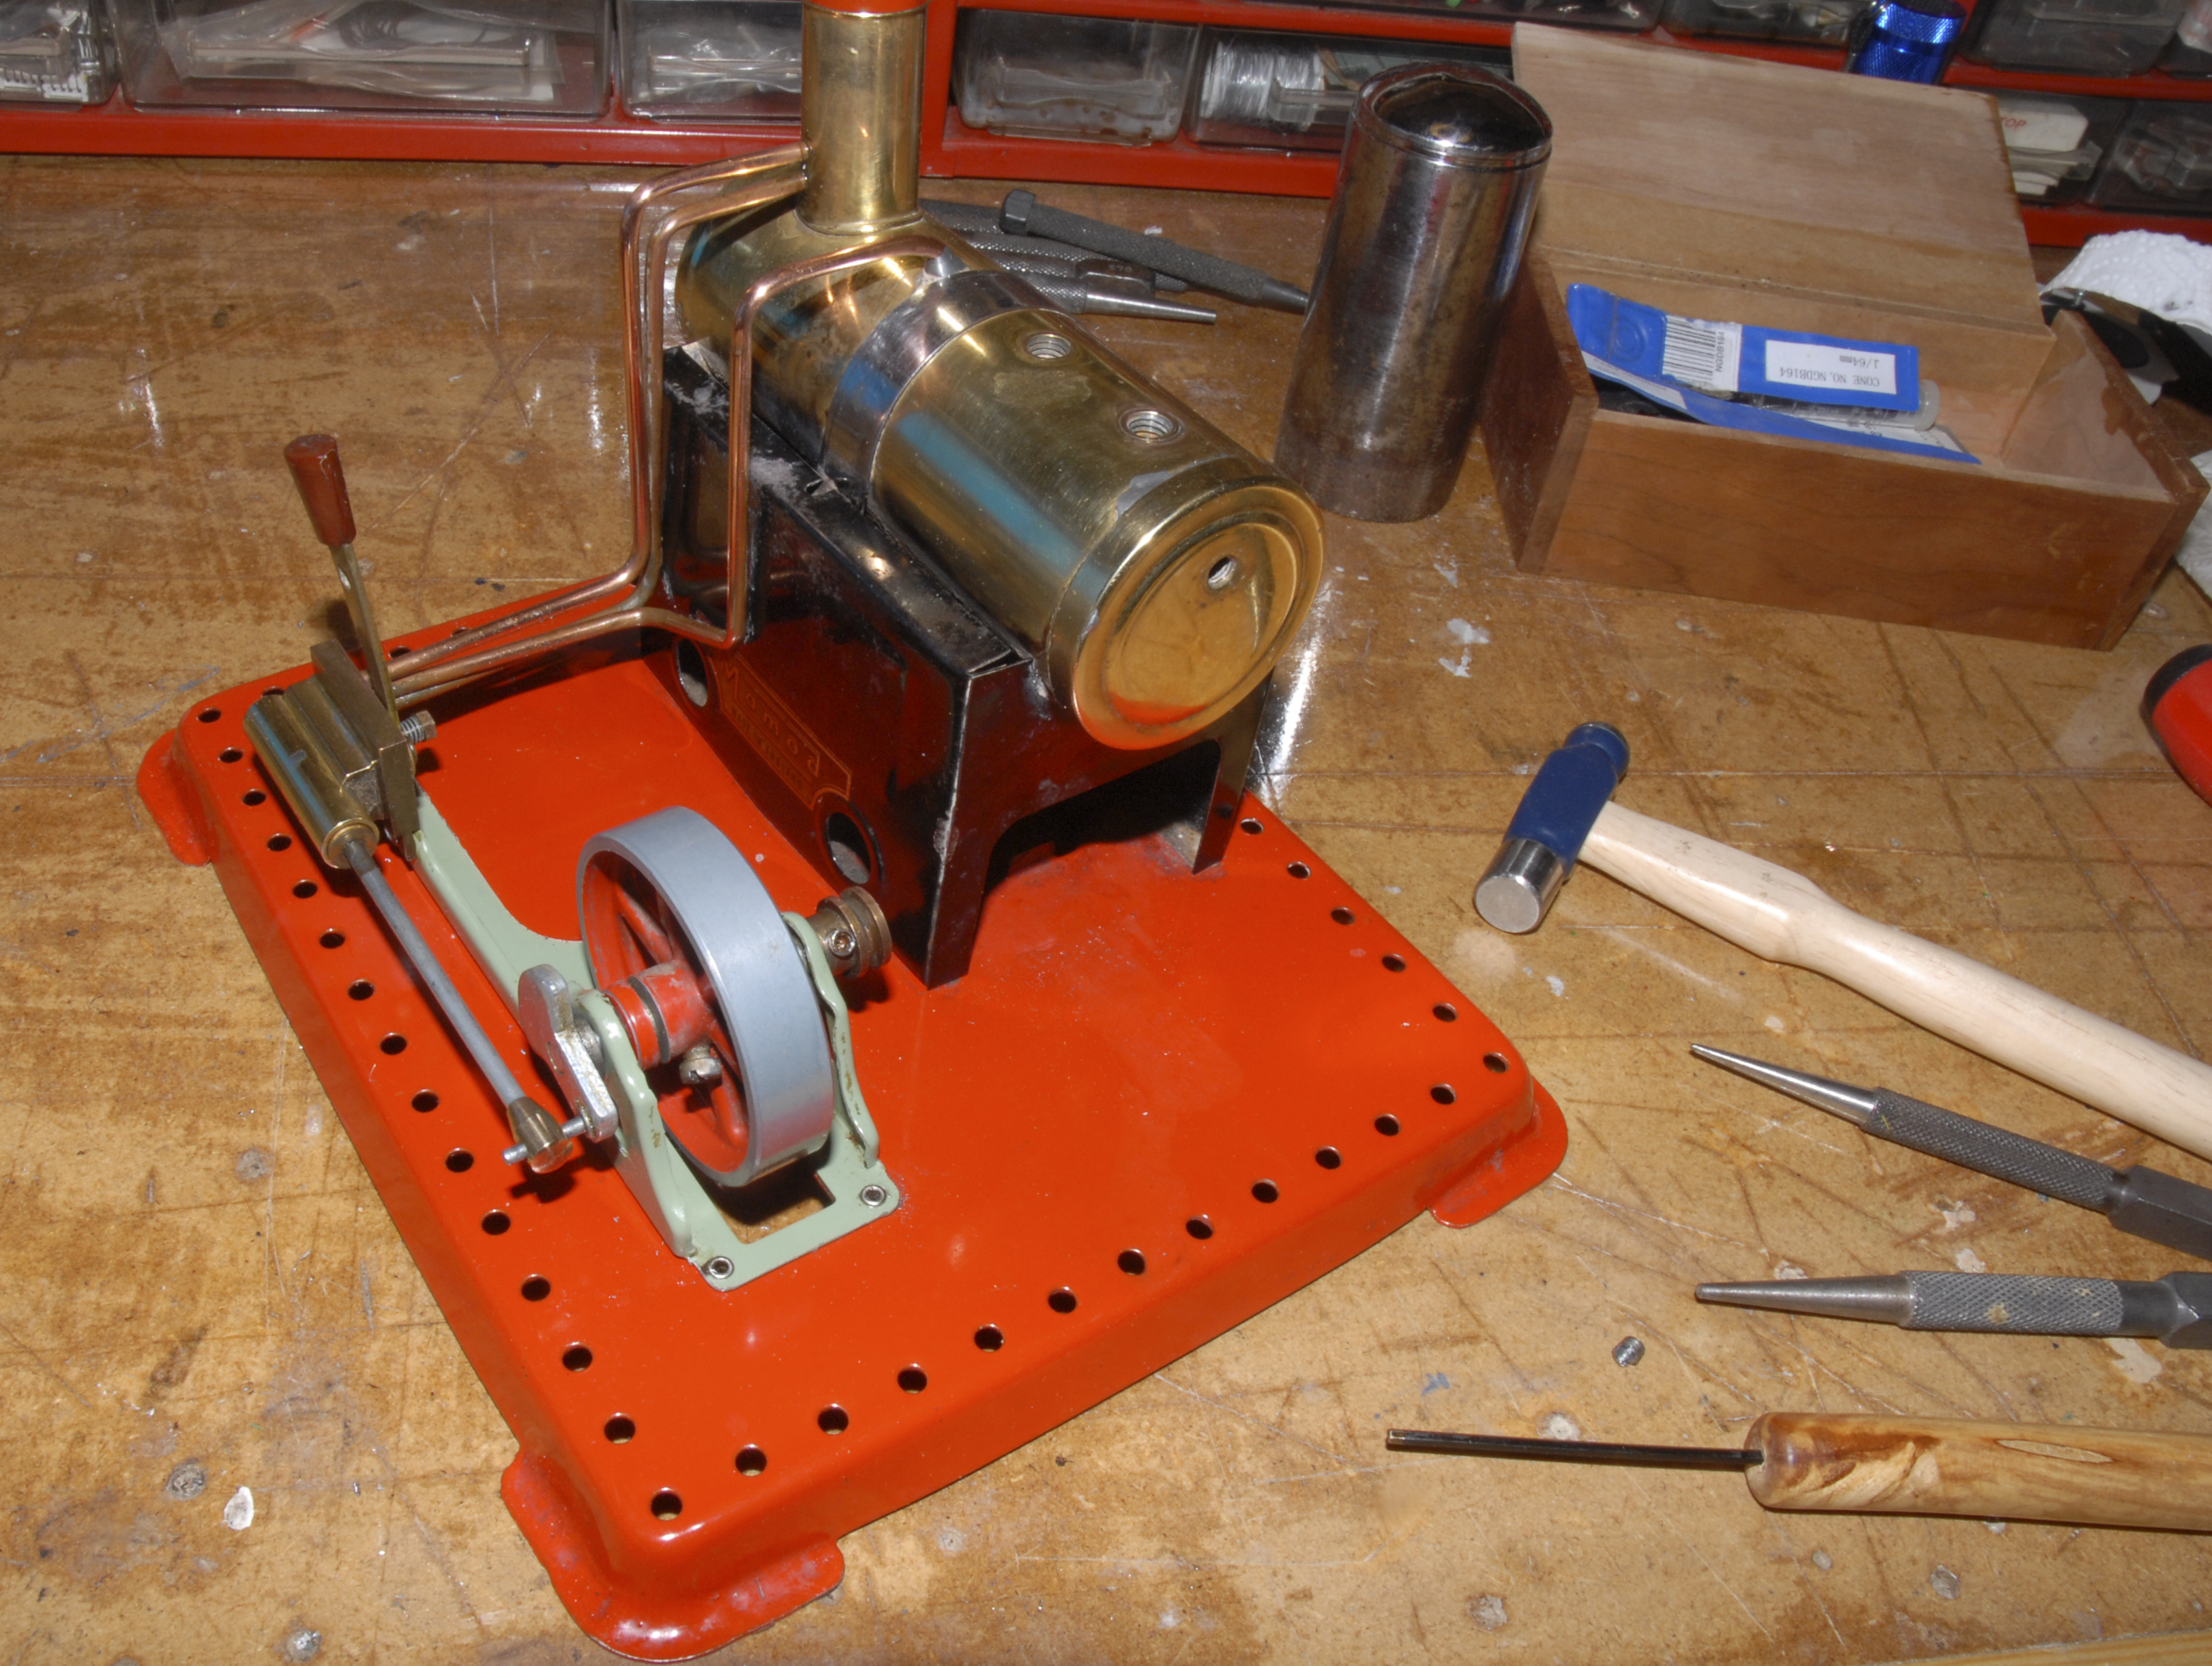
For the past week or so week I have been refurbishing a Meccano/Mamod SP3 steam engine. This is similar to the Mec1 Meccano engine made by Mamod for Meccano back in the 1960s and 70s. I will not go into the details of the refurbishment here as you can follow the entire story
HERE. I thought I would post some thoughts on spraying that you might find useful.

I first got involved with airbrushing and spraying models way back in the dim distant past when I was editing and rewriting a book for the English market that had been written by a couple of American guys. Although the information was sound the content was heavily biased to model aircraft and we wanted to publish a much more general book. At the time I was the resident technical artist and it was part of my job to produce line diagrams and simple illustrations as well as get fully involved with editing and designing the books. The publishing world was a totally different place in those days. A world of Cow gum and layout sheets, galley-pulls and letterpress blocks. Nevertheless, three of us used to turn out a model magazine (Modelworld) and two or three books a month. We were slowly moving on and I can remember the first litho book being printed. The Editor, Chris Ellis, mentioned that we would be able to tell the difference between Letterpress and litho as we had to mark the photographs up in percentages not width in ems as we had before.

Little did we realise just how quickly our rustic and mysterious old industry would change. but change it did and here I am 40 years later publishing this waffle on the
internet in my
blog. I wonder what the old boys in brown coats would have thought of this...
Sorry, I digress (again), back to the airbrushing. Through that book I got to know the UK importers (of the day) of Badger airbrushes; Morris and Ingram Limited. They had a good range and I was able to acquire several different models to experiment with. I was not new to airbrushing having used a DeVilbiss Aerograph Super 63 artist airbrush for illustrations. I also experimented with it for finishing my models. The small paint reservoir sculpted into the top of the body was a limiting factor but I managed. In those days I was using cans of air bought from the local art suppler - the cost was eye-wateringly painful in those days so use was somewhat curtailed.
 |
| Devilbiss Super 63 |
The association with Morris and Ingram, was to cure this problem when I managed to secure an ex demonstration, diaphragm compressor. A bit crude by today's standards bit it did the job and I have not bought another can of compressed air since! It was described to be as being a bit noisy - but not that bad - an angry sewing machine were the words used describe the din. I was still living with may parents in those days and my father was not in agreement with the description I had passed on... So, use was once again limited.
 |
| The diaphragm compressor still in use today - sometimes! |
All this was a long time ago and since then I have been airbrushing and spraying things ever since. Everything from cars and vans right down to tiny HOe/OO9 gauge narrow gauge models. I have also managed to collect together a good collection of airbrushes, spray guns and a plethora of sundry items to aid the spraying or keep the over-splay under control. All this equipment does make life easier but it is not totally necessary especially when dealing with relatively small items that just need to be painted one colour. You could just hang everything on the washing line, shake up an aerosol and spray away. This can actually be surprisingly effective for undercoating if not very responsible. Try top-coating like this and you will either be very disappoint with the results due to all the dust that has landed on it or spend hours rubbing down with 2000grit wet and dry. That is so fine the printed side is probably more abrasive than the abrasive! and that is after you have peeled off all the insects that came to a sticky end.
 |
| A small air-cleaner can be wall hung or free standing |
As clean and as dust-free as possible environment is what you need for sprying. it also needs to be well ventilated, preferably with negative pressure. You can create a small amount od negative pressure by placing a fan in front of an open window, blowing outwards. This negative pressure, regardless of how small, will help prevent the ingress of airborne dust. The rest of the room/space needs to be sealed or you will just suck in air and dust from the outside through any gaps. An air cleaner is another good idea, often used by wood-turnes to clear the air of fine dust particles. They will remove very finde particles so small that can not be seen. They are not intended to remove fumes and in our case they should be turned off while spraying. The way to use then is to leave them running for an hour or so before spraying to remove as much dust from the air as possible.


Once the air is clean you will need something to catch the over-spray. The preferred method is to use a spray booth and if you intend to do a lot of spraying this is a must. For the occasional user this is not practical and some other means needs to be adopted. A cut down cardboard box will make an ideal spray booth for light spraying. It will catch most of the over-spray and it will be soaked up by the cardboard. The box can be renewed as required. the surrounding area needs to be covered with newspaper to collect the drift.
The most important thing to do is to buy a good quality mask with interchangeable filters or better still some kind of pumped air feed. Don't skimp on this, if you can't afford a mask DON'T SPRAY ANYTHING! working on a budget, the mask will be the most expensive item so investigate acquiring one before anything else. Airborne solvents and paint do not make good breathing.
 |
| The Badger 155 airbrush is a very good for spraying small items - not too expensive |
You could use aerosol paint but they can be very messy in a confined space, they are totally uncontrollable and in order to get a fine coat on a small object you will be spraying most of the paint into the spray booth or worse, into the air. A conventional spry gun is far to cumbersome and even a spotting gun will be a bit on the big side, especially if you want to spray just one item like the base of my SP3 steam engine. Going the other way an airbrush is too fine to give a good coverage. What is needed is something in between.
 |
I used the Badger 250 to spray my base.
At about £12 you can't go wrong |
What is needed is something in between. Badger have made a small spray gun for years. In the early days it was sold, by Humbrol, and others, as an airbrush. It is really a miniature open venturi spray gun. No needle to control paint flow, just a simple screw arrangement that positions the paint nozzle further into the air-stream to increase the flow. The circular spray pattern is ideal for covering the sort of area required to paint this base. These small spray guns are cheap to buy, very easy to clean and ideal for painting parts of old steam engines and small numbers of Meccano parts. Before you can start spraying you will need an air supply, cans of compressed air are available from art shops but this can get expensive if you are planning on doing a lot of spraying. In the 1970s we used all sorts of things including cylinders of CO2 (carbon dioxide) gas, the art shops even sold regulators for them! Another (better) idea was the tyre adaptor. this was a small brass ring that was threaded to accept an air can regulator/adaptor on the outside and a standard tyre valve on the other. The only trouble with this was that the tyre had to be fitted to a wheel to hold any air under pressure and that combination was heavy and unless you were prepared to buy a new wheel and tyre, it was usually out of the boot of the car and covered in dirt and brake dust.
 |
| Machine Mart supply a good range of compressors |
Today there are plenty of small compressors to choose from. If you are budget conscious and only want to use the air to power a mini-spray gun or airbrush then one of the small Chinese made diaphragm compressors will do a very good job. However, an air supply in the workshop has many uses and I would not be without mine. Small oil-less compressors can be bought very cheaply today and they nearly all of them are supplied with airline pressure regulators and gauges. Machine Mart sell a good range of compressors in all sizes. I have a small portable one that didn't cost the earth and would make a good addition to any small workshop. It has a built in air tank and the compressor pump will charge this to a given pressure and then cut out. When the pressure in the tank drops below a given point, it will recharge the tank. The airline pressure can be regulated to the required spraying pressure. This is usually somewhere around 35psi (approximately 2.5 BAR) for this sort of work. It is a bit noisy (not too bad) but just remember to turn it off at night if you are leaving it in a garden workshop. If there is a small leek in the airline it will gradually discharge the reservoir and kick-in in the early hours disturbing all the sleeping wildlife including the neighbours, who if they weren't before, could turn wild!

If you are serious about providing an air supply to a small workshop in a residential area it is well worth considering one of the silent compressors.
My small, almost silent compressor. It is a Bandi re-badged (stickered!) Axminster Power Tools with a standard PCL/universal fitting and a separate airbrush/mini spray gun supply added after-market. I have larger, noisier compressors available but this is the one that gets most of the use. It will supply enough air to drive small air nailers, pinners and staplers as well as providing regulated air to run and test steam engines. They do not put out high volumes of air but for the small workshop in a domestic environment, the extra cost is well worth considering.
The result of spraying my base in this manner can be seen above. After all that playing about with steam engines it is about time to get back to the trains...
Ralph.


 Once the air is clean you will need something to catch the over-spray. The preferred method is to use a spray booth and if you intend to do a lot of spraying this is a must. For the occasional user this is not practical and some other means needs to be adopted. A cut down cardboard box will make an ideal spray booth for light spraying. It will catch most of the over-spray and it will be soaked up by the cardboard. The box can be renewed as required. the surrounding area needs to be covered with newspaper to collect the drift.


